Train the 2026 Army Fitness Test (AFT) Plank (PLK) with position-specific holds, breathing practice, accumulated quality time, and trunk-endurance progression.
Start with two focused PLK sessions per week. Add a short third session when recovery allows.
Use repeated holds to build more time in a good position, then use occasional longer holds to practice staying there when fatigue builds.
A simple week looks like this:
Session A — Position and Volume
Session B — Longer Holds
ArmyFitHub PLK Training at a Glance
Frequency
2 focused sessions + optional third
Position day
Plank — 4–5 clean working holds
Long-hold day
Plank — 3 longer holds with full rest
Hold rest
60–90 seconds for volume; 2–3 minutes for long holds
Progression
Add 5–10 seconds only when the position stays intact
One-day option
Prioritize four clean holds, then one support exercise
Accumulate high-quality time in the test position.
A simple PLK week uses one volume session and one longer-hold session. Add a short third session when recovery allows.
Practice the Actual AFT Plank Position
Before building working holds, make the training position match the current
scored position. Keep a straight line from head to heels, with the feet,
forearms, and hands or fists in contact with the floor. Use the official PLK rules and test-day standard and ATP 7-22.01 for the current details.
Choose a legal hand position you can sustain. If you plan to switch from fists
or the pinky-side position to palms down during the test, practice the change
while keeping both hands in contact with the floor.
Shaking during a hard hold is acceptable while the required position remains
intact. End training holds when the required alignment clearly breaks.
Session A — Position and Volume
Start with:
Plank — 4–5 working sets
Hold each set for a duration you can maintain without your hips dropping, rising, or shifting.
Rest 60–90 seconds between sets.
Start around 50–70% of your current clean maximum hold. End the set when the
required PLK position changes, even if the planned time has not elapsed.
If your best clean plank is 2:00, your working sets might start around 1:00–1:20.
Then do:
Side Bridge — 2–3 sets per side
Use the Army technique shown below.
Keep the trunk and pelvis in one line and continue breathing throughout the hold.
Finish with:
Bent-Leg Raise — 2–3 controlled sets
Move slowly enough to keep the trunk position under control.
Use controlled repetitions and keep the trunk position stable.
Session B — Longer Holds
Start with:
Plank — 3 working sets
Use longer holds than Session A.
Rest 2–3 minutes between sets.
These should be challenging, but they should still look like the position you need on test day.
For example, if your best clean hold is 2:30, you might begin with three holds around 1:30–1:45 rather than trying to repeat 2:30 three times.
Then perform:
Leg Tuck and Twist — 2–3 controlled sets
Use the Army movement technique shown below.
Keep the movement deliberate and stop when trunk control starts to disappear.
Keep the third session low-fatigue: three short clean holds plus a small amount of support work.
How to Choose Your Plank Hold Time
Choose hold times from your current clean PLK, not from time accumulated after alignment breaks.
Your working duration is appropriate if you can keep:
your head, shoulders, trunk, hips, and legs aligned;
your hips from dropping;
your hips from rising;
your shoulders stable;
and your breathing under control.
Shaking during a hard hold is acceptable while the required position remains intact.
If a planned 90-second set starts changing at 70 seconds, record 70 seconds as
the useful hold and base the next session on that.
How to Progress Your PLK
Add time slowly.
A simple progression is:
All sets stay clean
→ Add 5–10 seconds per set next time.
The last set is difficult but position stays good
→ Repeat the same duration.
Your hips start moving before the planned time
→ Shorten the holds and rebuild clean volume.
Your first set is already worse than normal
→ Reduce the day's volume and check recovery.
You can also progress by adding one set.
Progress one variable at a time: hold duration, set count, or rest.
Train for the Time You Actually Need
Use your next AFT scoring target to define the PLK performance gap.
If the target is 15 seconds away, train for that gap. Once the target is reached
consistently, reassess whether PLK or another AFT event deserves more weekly work.
Why Train the PLK This Way?
The PLK is a timed muscular-endurance event, so the most specific work is time
in the required AFT position. Confirm the current standard in
ATP 7-22.01.
Repeated submaximal holds let you accumulate more clean position time than a
single maximum hold.
For example:
one 2:00 maximum hold gives you two minutes of plank work.
Four clean 1:00 holds give you four minutes of useful position practice.
The Army also lists the Bent-Leg Raise, Leg Tuck and Twist, and Side Bridge for PLK preparation in U.S. Army AFT guidance. FM 7-22 supports repeated, controlled endurance work across the week.
Place the Army-listed trunk exercises after the PLK holds.
If You Only Have One PLK Day Per Week
Start with:
Plank — 4 working sets
Use a challenging but repeatable duration.
Rest 90 seconds to 2 minutes between sets.
Then choose one support exercise:
Side Bridge — 2 sets per side
or
Bent-Leg Raise — 2–3 sets
or
Leg Tuck and Twist — 2–3 sets
If You Are New to the PLK
Start with shorter holds.
Start with:
4–5 sets of 20–40 seconds
Rest enough to reset completely.
If 20 seconds is already difficult, start there.
If 40 seconds is easy and clean, gradually make the holds longer.
Build from the position you can currently control. Once several short holds are
consistent, combine that capacity into longer sets.
How to Increase Your AFT Plank Time
Identify what ends the clean hold first: hip position, shoulder support, breathing, asymmetry, or general endurance.
If the hips sag: shorten the work sets. If position changes at 60 seconds, try several clean holds around 40–50 seconds and add Bent-Leg Raise after the PLK sets for trunk-control work.
If the hips rise: end the set, reset one straight line, and repeat a shorter hold.
If shoulders or one side fail first: use shorter holds with more rest. Add Side Bridge after the PLK sets for controlled lateral-trunk work.
If breathing breaks the position: keep the body tight while taking controlled breaths. Practice on 30–60 second holds, shortening the set if each breath makes your hips move. Build total clean plank time gradually when position stays intact.
How to Train the PLK Without Equipment
PLK training needs only a level surface. Use PLK holds, Side Bridge, Bent-Leg
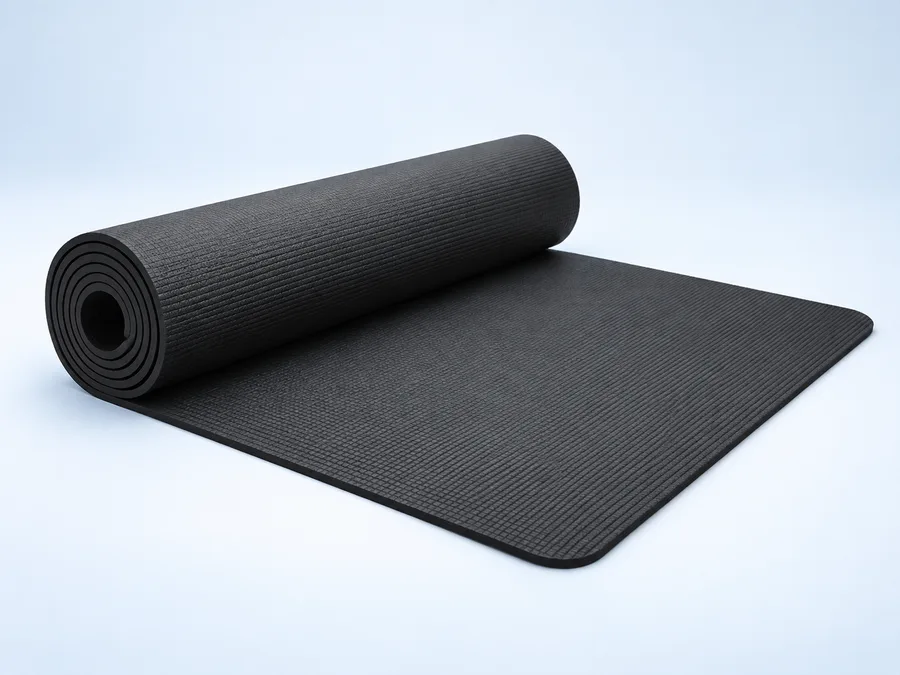
Raise, and Leg Tuck and Twist. A mat is optional for floor comfort.
How Often Should You Test a Maximum Plank?
Use a maximum PLK periodically to check current hold time and where position
begins to fail. Between tests, return to repeated submaximal holds and
progression work.
The Week Before Your AFT
Reduce trunk volume during the final week. Keep one short early-week session
with three clean PLK holds and a small amount of familiar support work, then
prioritize recovery.
PLK is event four, with the 2MR still to follow.
Common PLK Training Mistakes
Doing a maximum plank every day. Use max attempts to measure endurance; use the other sessions to build it.
Keeping the timer running after the position changes. Train the position you need on test day.
Increasing hold time too quickly. Add a few seconds while the movement stays clean.
Holding your breath. Learn to maintain tension while breathing before fatigue gets severe.
Skipping lateral and rotational trunk work. Use Side Bridge and Leg Tuck and Twist after the PLK holds.
Letting shoulder fatigue end every work set. Shorten holds, add rest, and keep the position controlled.
Chasing a huge plank time when you need only a small score improvement. Train toward your actual AFT target and spend the rest of your recovery where it matters most.
PLK Training Questions
Should I max out the plank every workout?
Use maximum holds occasionally; most sessions should use repeatable clean holds. End the hold when the required position breaks.
What if my shoulders fail before my trunk?
Use shorter holds with more rest, then add controlled Side Bridge work after the PLK sets.
What if I only have one training day?
Use four challenging but repeatable plank holds with 90 seconds to two minutes of rest, then choose one support exercise: Side Bridge, Bent-Leg Raise, or Leg Tuck and Twist.
How should I train during test week?
Reduce volume, keep one short early-week session with three clean holds and familiar support work, and prioritize recovery. PLK is event four; the 2MR still follows.
Personalized AFT Plan
Build a complete 5-event AFT training plan
Start with your AFT assessment, then get a personalized AFT training plan PDF created from your scores, target, training availability, equipment, and test timing.
The PDF covers all five AFT events, with PLK included as training context.
Your personalized plan uses your five event scores and weekly schedule to decide whether PLK needs more work or only maintenance, while fitting it around SDC, 2MR, and overall recovery.
Start My AFT Plan $24.99 one-time · Reviewed before PDF delivery · Secure PDF by email · Delivered within 24 hours after Plan Setup
The Army uses the Bent-Leg Raise to build awareness of spinal control while the legs move and to emphasize the abdominal core rather than simply the hip flexors. That controlled trunk tension supports the PLK by improving the ability to hold whole-body alignment as fatigue rises.
How to Perform the Bent-Leg Raise
1Lie in the sit-up starting position with the fingers under the small of the back, palms down, knees bent, feet flat, and head slightly off the ground.
2Lift the feet until the hips and knees are at 90 degrees, then slowly straighten the legs while maintaining the same pressure on the hands.
3When the pressure cannot be maintained, bring the knees back toward the chest briefly, then return to the starting position when the set ends.
Key Cues for the Bent-Leg Raise
Place the hands under the small of the back, not the pelvis.
Keep the pressure from the back consistent on the fingers.
Use a slow, controlled leg extension.
Common Mistakes in the Bent-Leg Raise
Placing the hands under the pelvis instead of the small of the back.
Continuing to extend the legs after the required pressure and trunk control are lost.
Army guidance describes the Leg Tuck and Twist as a trunk and hip-coordination drill that develops control of trunk rotation. That combination supports the PLK by teaching the trunk to resist unwanted motion while the limbs move through a demanding range.
How to Perform the Leg Tuck and Twist
1Sit supported with the trunk leaning back about 45 degrees, hands behind the shoulders, and the straight legs together 8–12 inches above the ground.
2Raise the legs while rotating onto the left buttock and draw the knees toward the left shoulder, then return to the starting position.
3Repeat to the right and return to the starting position after each side.
Key Cues for the Leg Tuck and Twist
Tighten the abdominals before the legs move.
Keep the feet and knees together.
Keep the head and trunk still while the legs rotate.
Common Mistakes in the Leg Tuck and Twist
Jerking the legs or trunk to reach the tucked position.
Separating the knees and feet or allowing the head and trunk to follow the legs.
The Army describes the Side Bridge as a way to isolate one side of the trunk and strengthen the muscles from the spine through the lateral trunk and pelvis. That lateral endurance helps a Soldier maintain the aligned body position required by the PLK.
How to Perform the Side Bridge
1Lie on one side with the upper body supported by the elbow, forearm, and fist; keep the feet together or use the bent-knee modification.
2Press into the ground with the supporting arm and raise the trunk and pelvis until they form a straight line with the legs.
3Hold while breathing, then switch sides and repeat the same controlled position.
Key Cues for the Side Bridge
Keep the trunk and pelvis lifted as one line.
Continue breathing throughout the hold.
Use the modified knee position when the standard position cannot be held to standard.
Common Mistakes in the Side Bridge
Allowing the pelvis to sag out of the straight-line position.
Holding the breath instead of maintaining steady breathing.
PLK training needs only a level surface. A mat is optional for floor comfort; current ATP guidance also permits a mat during the PLK when the Soldier’s entire body remains on it.